Navigating with a Physical Turtlebot 3
Overview
This tutorial shows how to control and navigate Turtlebot 3 using the ROS 2 Nav2 on a physical Turtlebot 3 robot. Before completing this tutorials, completing Getting Started is highly recommended especially if you are new to ROS and Nav2.
This tutorial may take about 1 hour to complete. It depends on your experience with ROS, robots, and what computer system you have.
Requirements
You must install Nav2, Turtlebot3. If you don’t have them installed, please follow Getting Started.
The turtlebot3 software can be installed via the following or on the turtlebot3 repository:
First, source your ROS 2 installation to set the environment variables:
source /opt/ros/<ros2-distro>/setup.bash
Then install the Turtlebot3 packages:
sudo apt install ros-$ROS_DISTRO-turtlebot3 ros-$ROS_DISTRO-turtlebot3-msgs ros-$ROS_DISTRO-turtlebot3-bringup
Tutorial Steps
0- Setup Your Environment Variables
Run the following commands first whenever you open a new terminal during this tutorial.
source /opt/ros/<ros2-distro>/setup.bashexport TURTLEBOT3_MODEL=waffle
1- Launch Turtlebot 3
You will need to launch your robot’s interface, for example:
ros2 launch turtlebot3_bringup robot.launch.py use_sim_time:=False
2- Launch Nav2
You need to have a map of the environment where you want to Navigate Turtlebot 3, or create one live with SLAM.
In case you are interested, there is a use case tutorial which shows how to use Nav2 with SLAM. Navigating while Mapping (SLAM).
Required files:
your-map.map
your-map.yaml
<your_map>.yaml is the configuration file for the map we want to provide Nav2.
In this case, it has the map resolution value, threshold values for obstacles and free spaces, and a map file location.
You need to make sure these values are correct.
More information about the map.yaml can be found here.
Launch Nav2. If you set autostart:=False, you need to click on the start button in RViz to initialize the nodes. Make sure use_sim time is set to False, because we want to use the system time instead of the time simulation time from Gazebo.
ros2 launch nav2_bringup bringup_launch.py use_sim_time:=False autostart:=False map:=/path/to/your-map.yaml
Note: Don’t forget to change /path/to/your-map.yaml to the actual path to the your-map.yaml file.
3- Launch RVIZ
Launch RVIZ with a pre-defined configuration file.
ros2 run rviz2 rviz2 -d $(ros2 pkg prefix nav2_bringup)/share/nav2_bringup/rviz/nav2_default_view.rviz
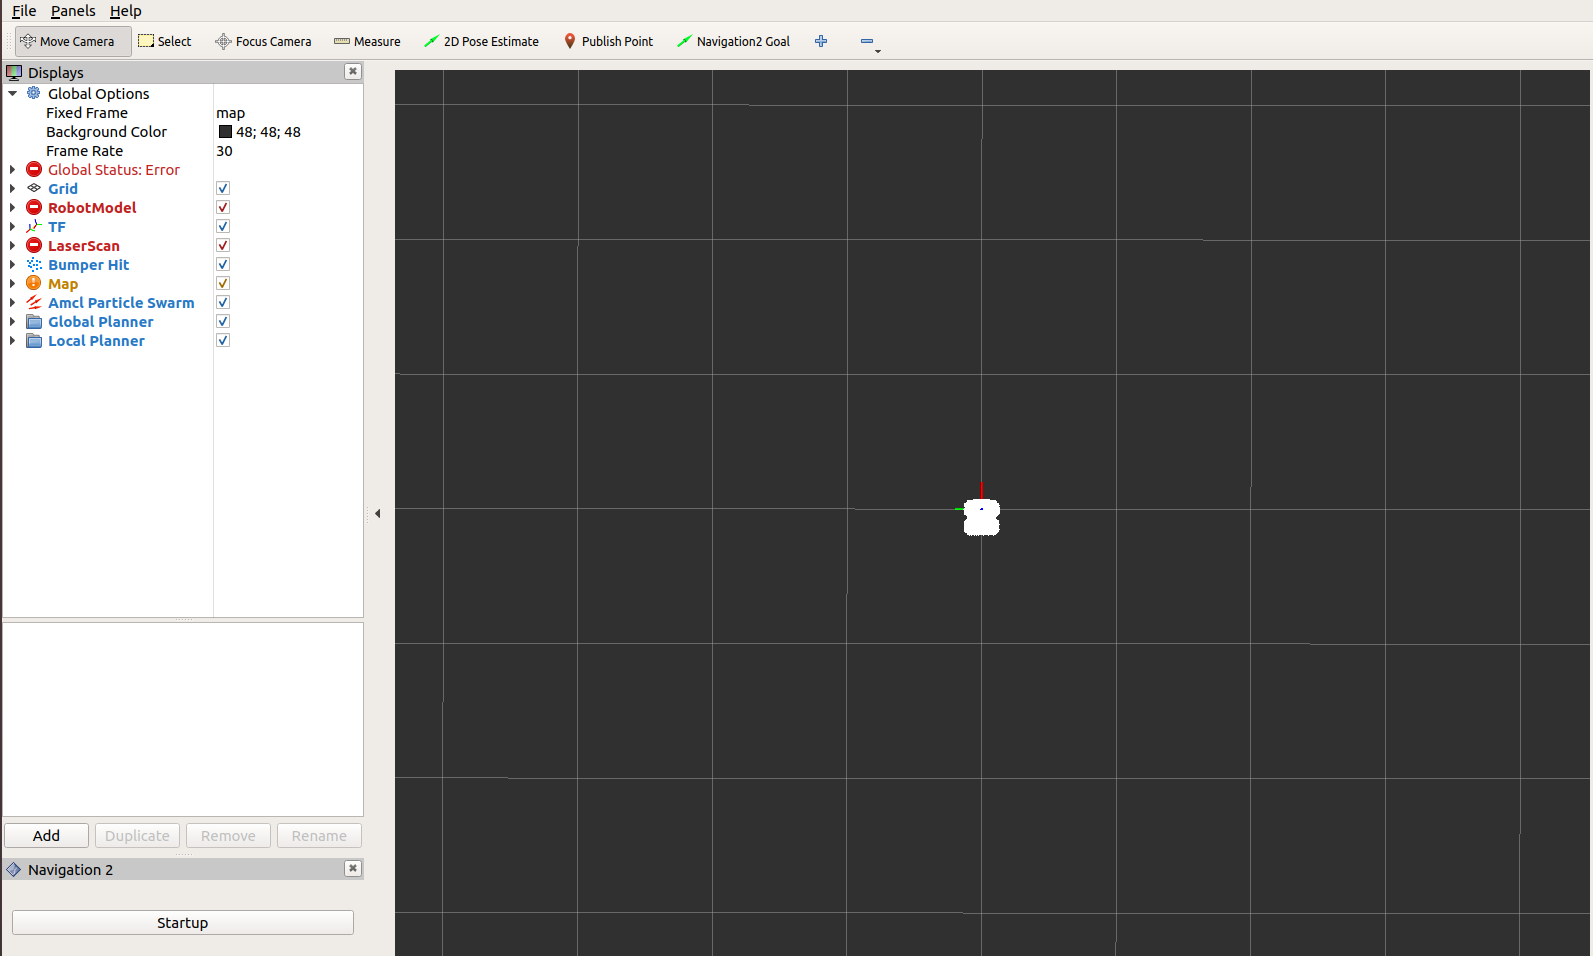
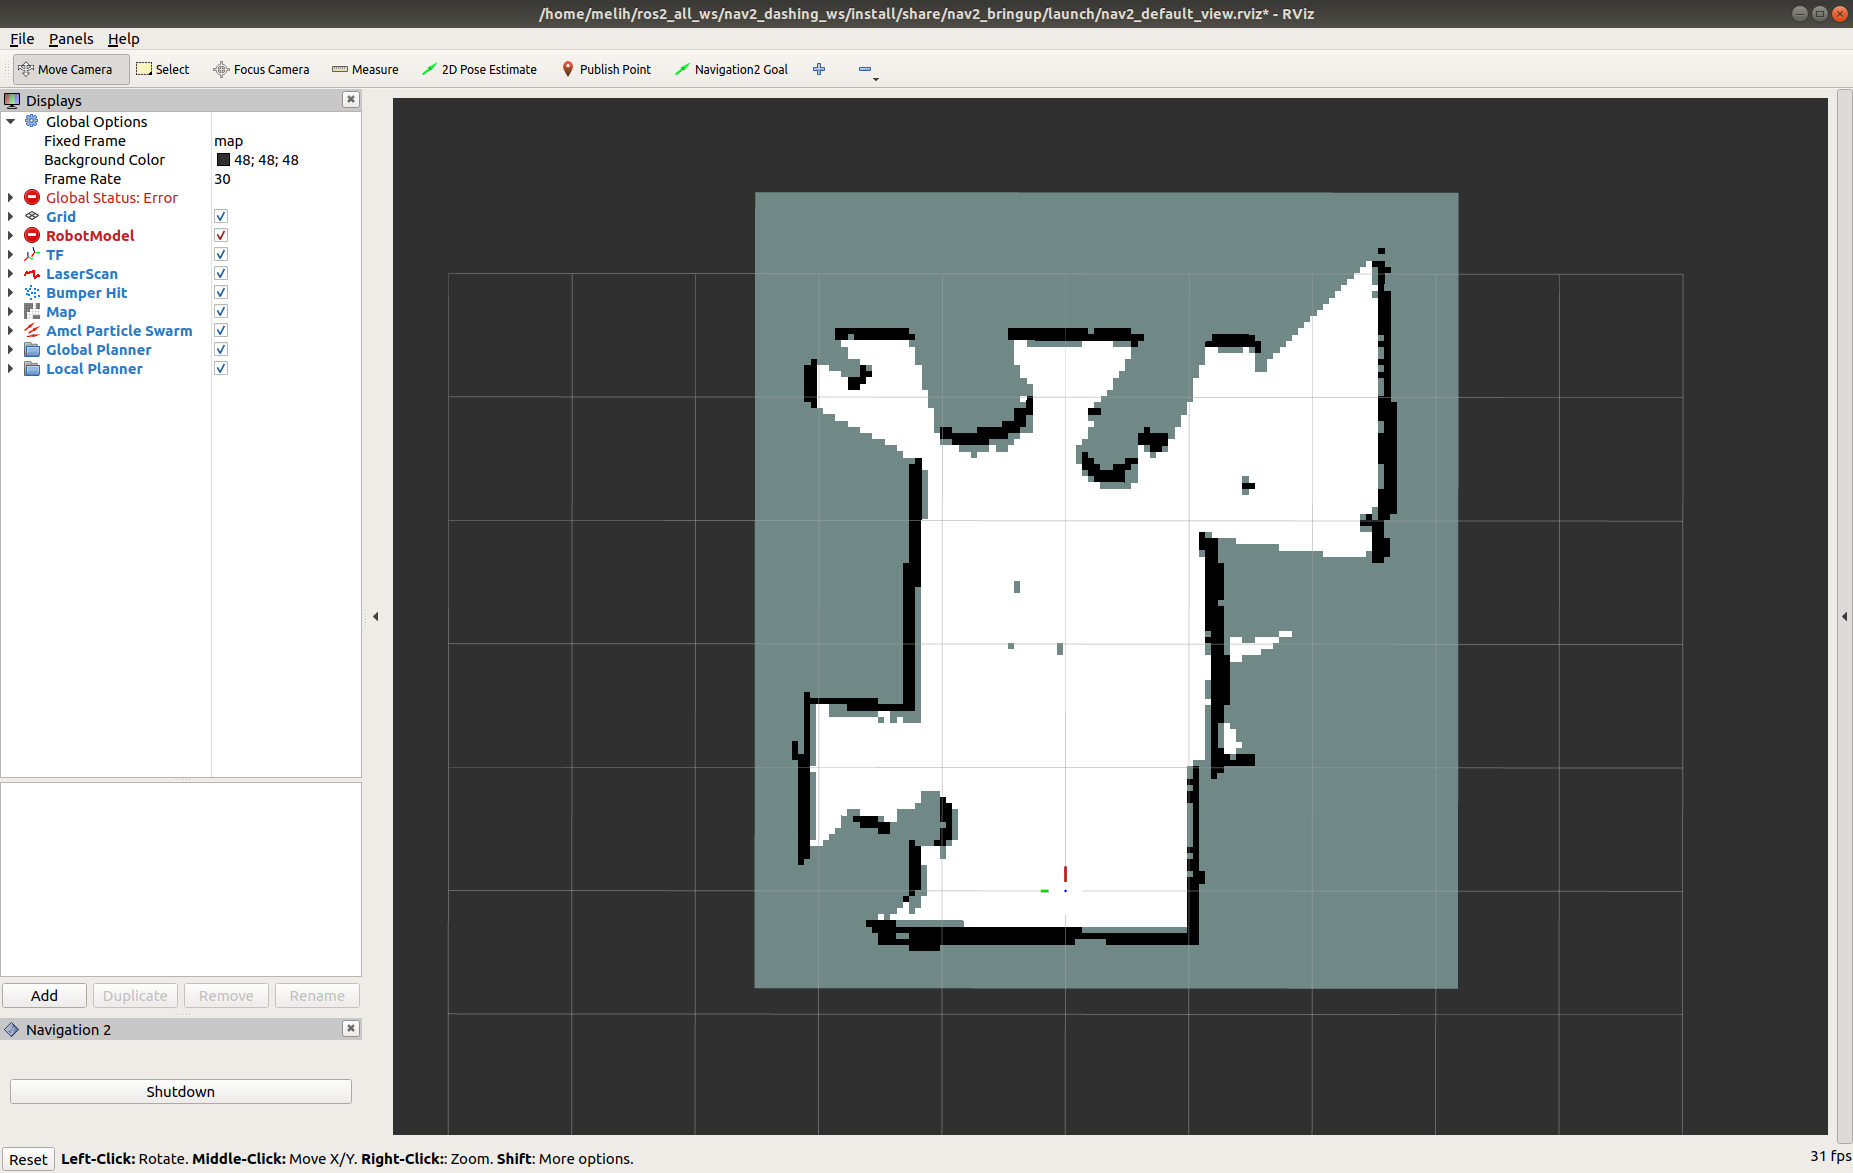
Now, you should see a shadow of Turtlebot 3 robot model in the center of the plot in Rviz. Click on the Start button (Bottom Left) if you set the auto_start parameter to false. Then, the map should appear in RViz.
4- Initialize the Location of Turtlebot 3
First, find where the robot is on the map. Check where your robot is in the room.
Set the pose of the robot in RViz. Click on the 2D Pose Estimate button and point the location of the robot on the map. The direction of the green arrow is the orientation of Turtlebot.
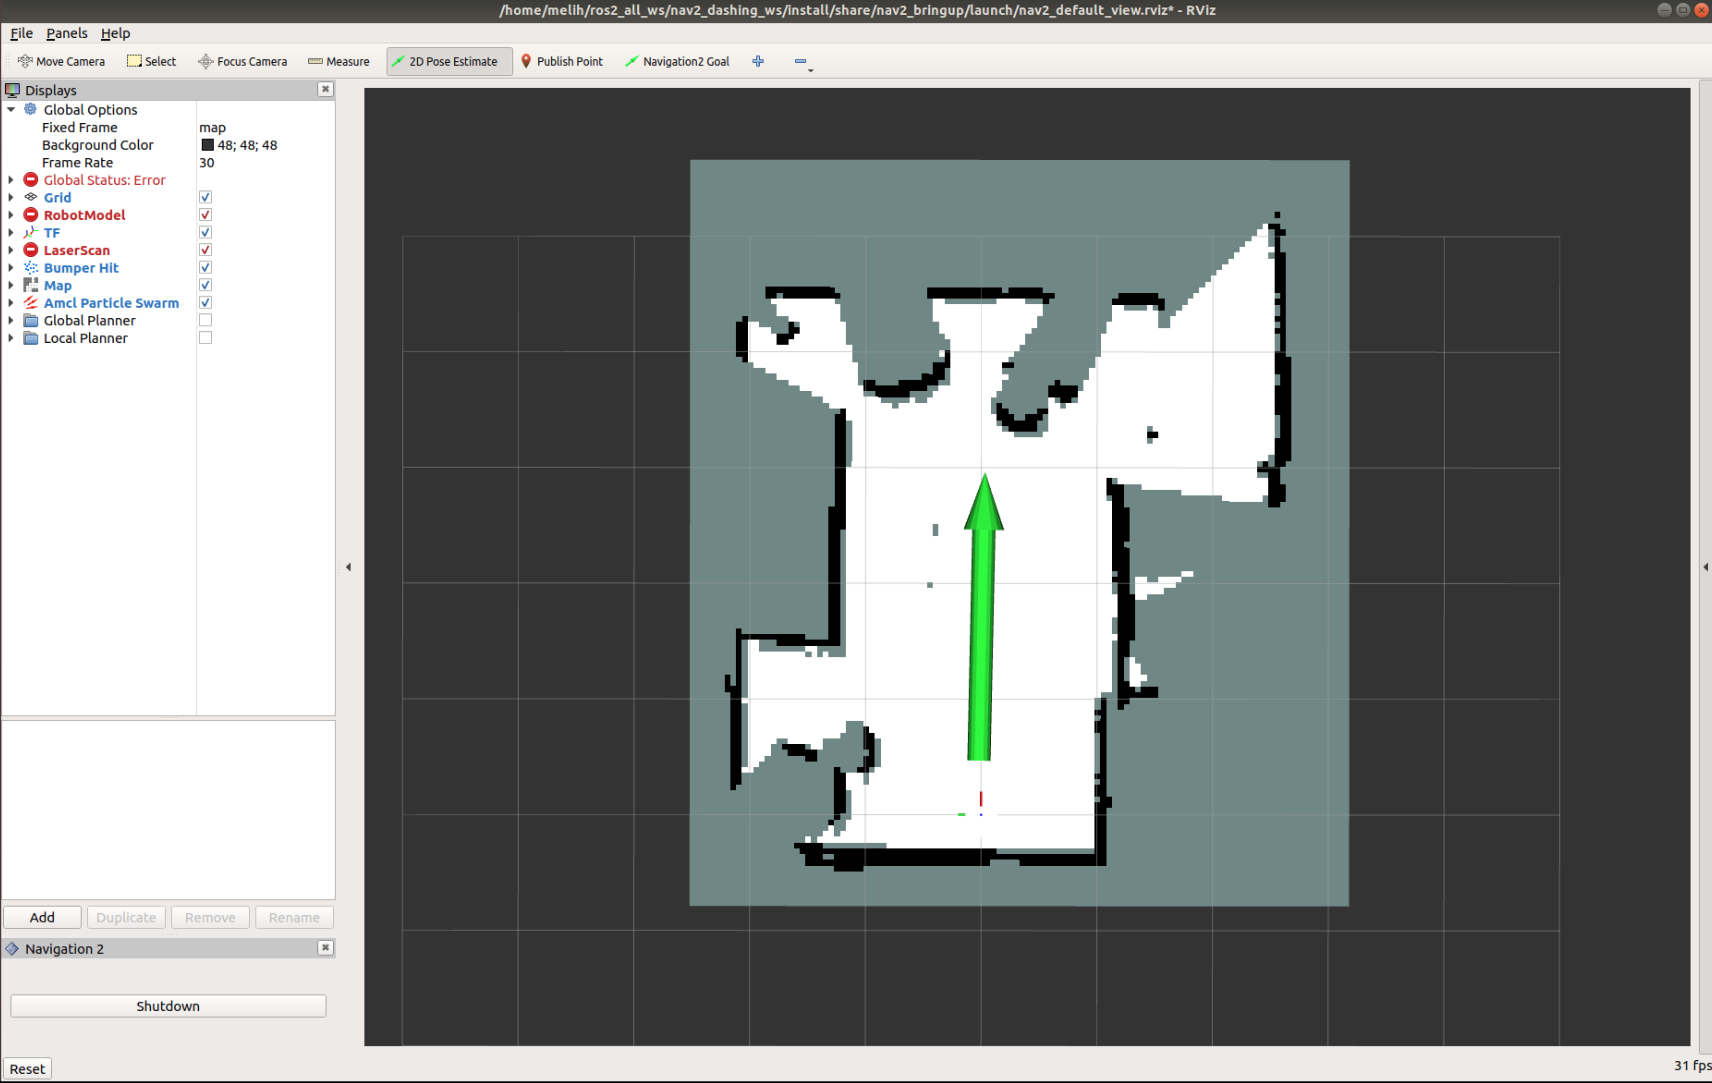
Now, the 3D model of Turtlebot should move to that location. A small error in the estimated location is tolerable.
5- Send a Goal Pose
Pick a target location for Turtlebot on the map. You can send Turtlebot 3 a goal position and a goal orientation by using the Nav2 Goal or the GoalTool buttons.
Note: Nav2 Goal button uses a ROS 2 Action to send the goal and the GoalTool publishes the goal to a topic.
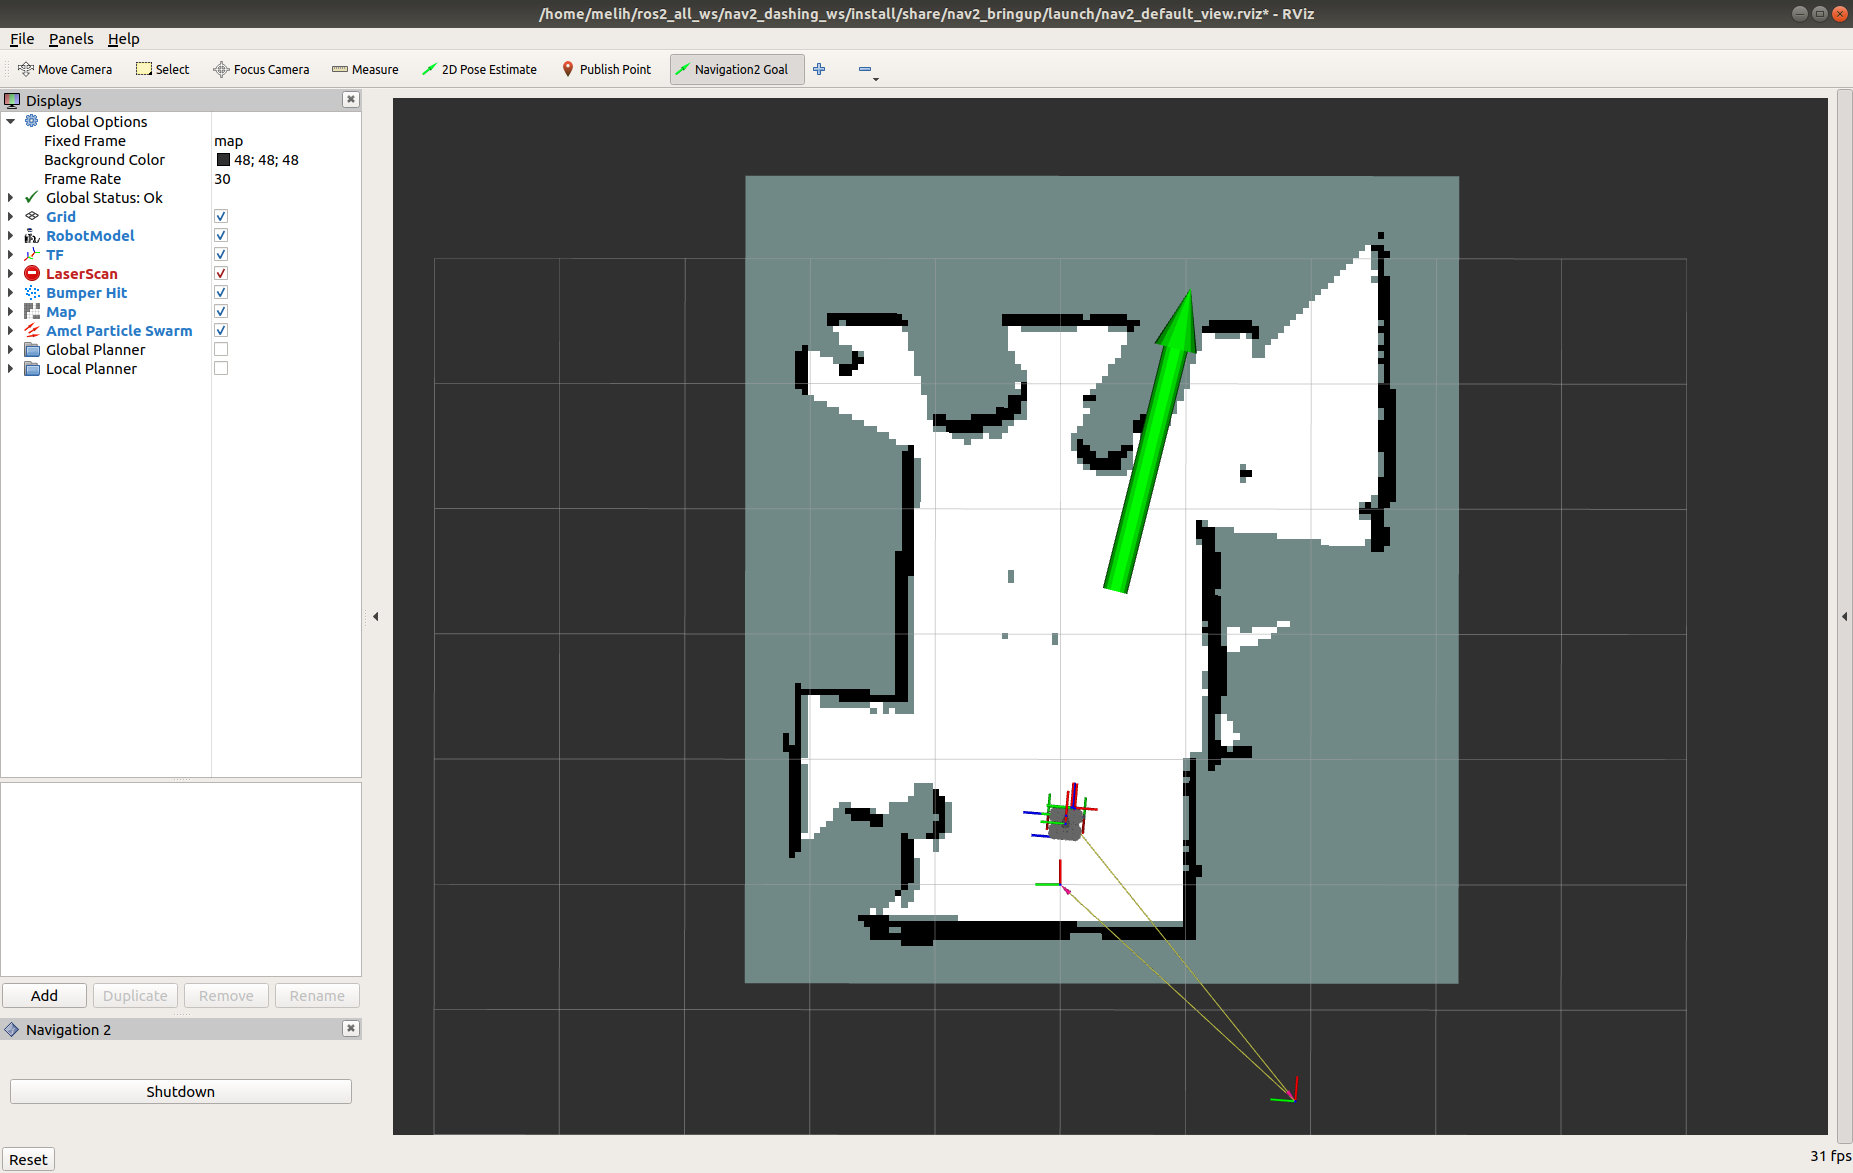
Once you define the target pose, Nav2 will find a global path and start navigating the robot on the map.
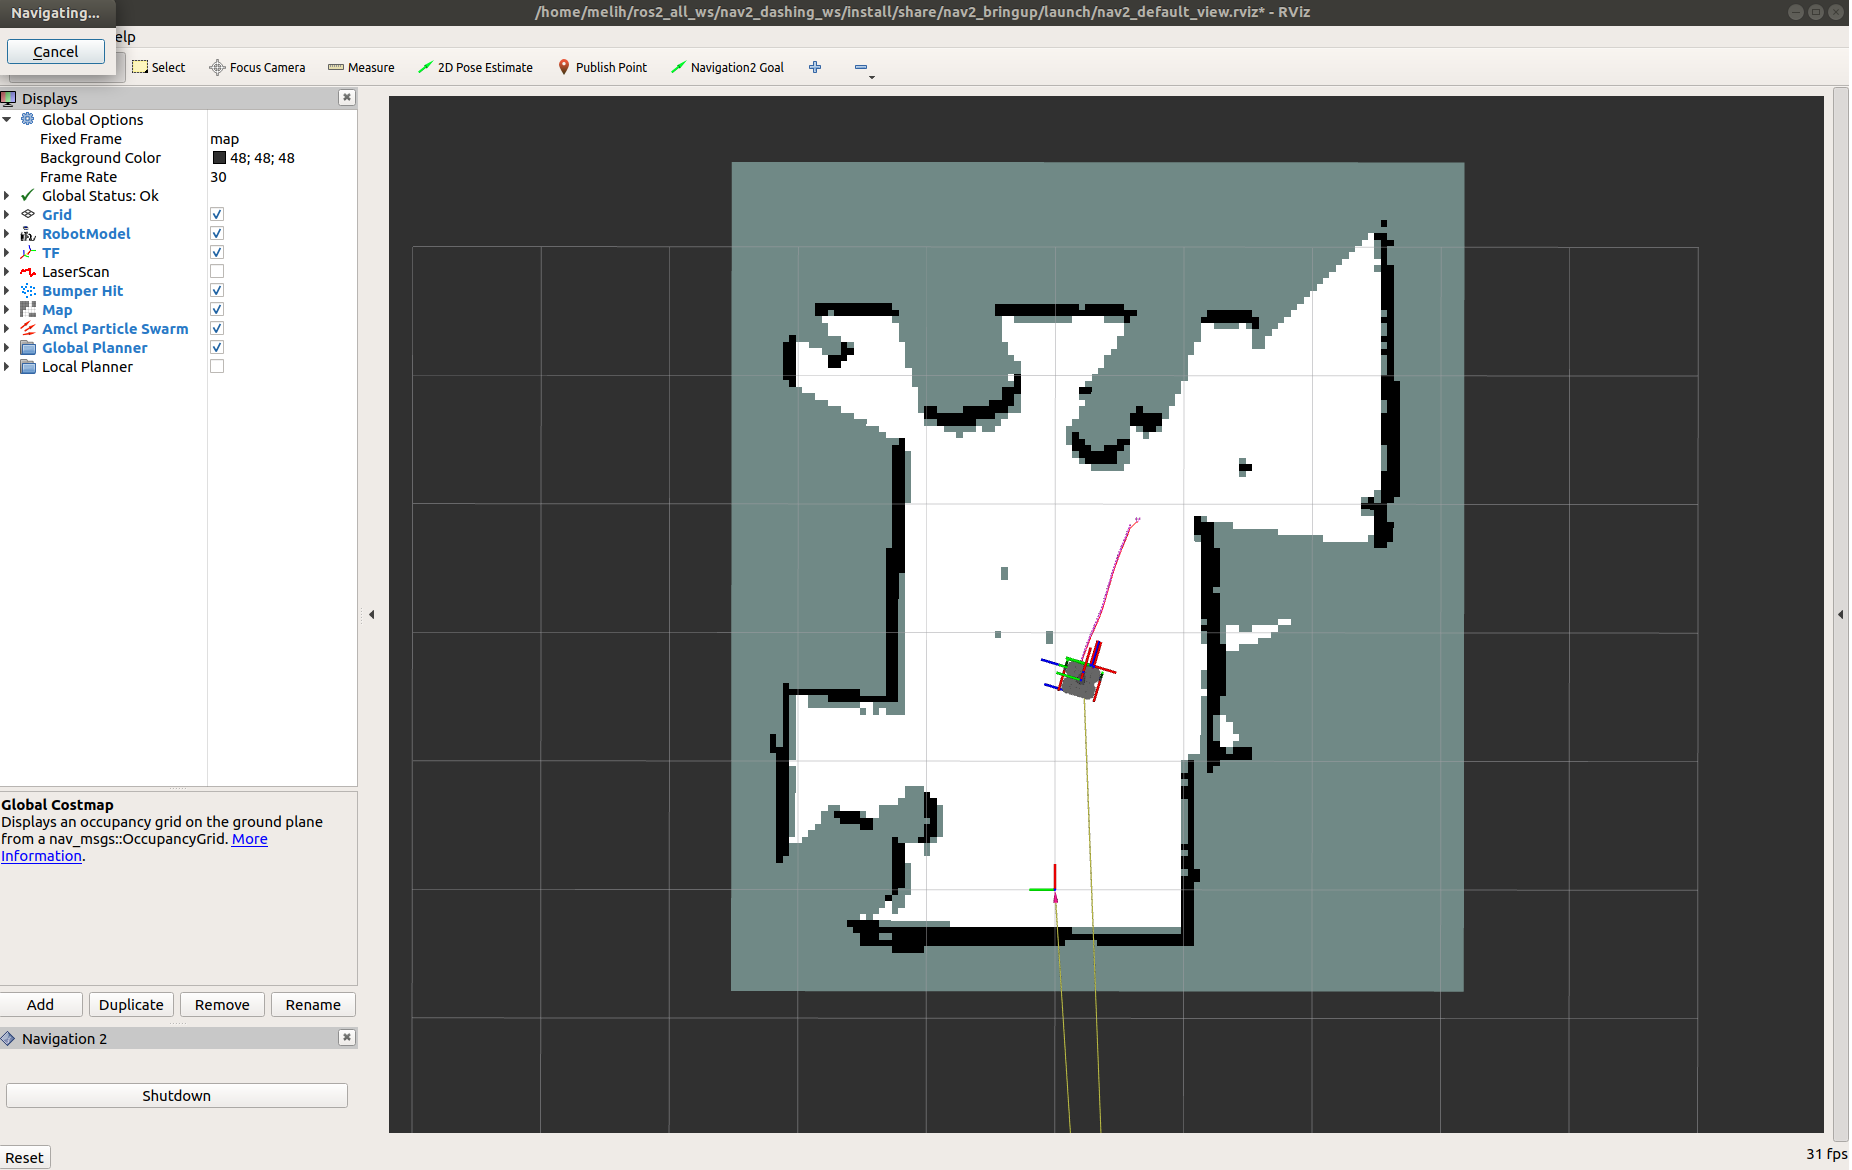
Now, you can see that Turtlebot 3 moves towards the goal position in the room. See the video below.